Remote Wireless Hand Switch NKL10 Solo | Bluetooth X-ray Exposure Hand Switch
Short Description:
Product Overview
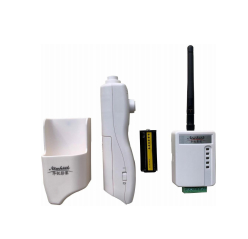
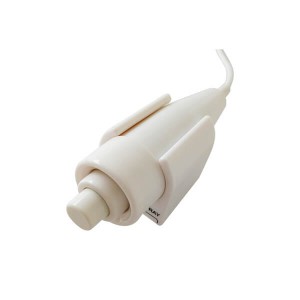
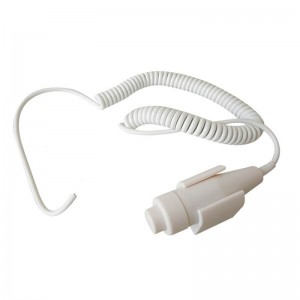
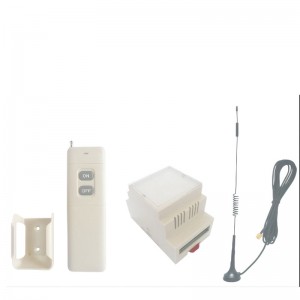
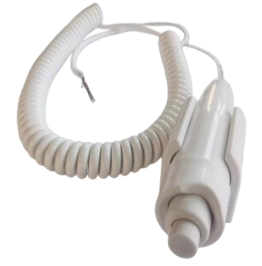
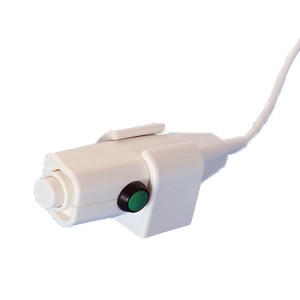
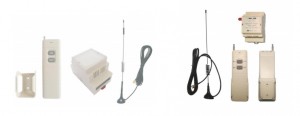
NKL10 Solo Bluetooth X-ray exposure hand switch is a wireless remote control accessory designed for general X-ray equipment. It adopts Bluetooth 4.0 full-duplex communication to realize long-distance exposure control, effectively isolating operators from X-ray radiation. The complete set includes a wireless transmitter handle, signal receiver, fixed base and matched batteries, supporting professional two-step three-key exposure control mode for radiography equipment.
Product Composition & Model List
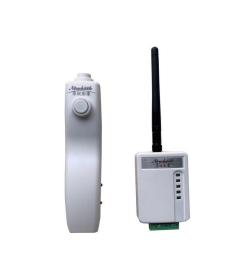
The whole wireless hand switch system consists of two core parts: transmitting handle and receiving terminal.
表格
Type
Component Name
Model
Wireless Hand Switch
Transmitting Handle
C2UW-LP-I DA
Wireless Hand Switch
Receiver Terminal
C2UW-LU DA
FOB Price: US $0.5 - 9,999 / Piece
Min.Order Quantity: 100 Piece/Pieces
Supply Ability: 10000 Piece/Pieces per Month
Communication Standard: Bluetooth 4.0 Low Energy
Working Frequency: 2.4GHz (2.402GHz ~ 2.480GHz)
Open Field Communication Range: Approx 10 meters
Response Time: Max 70ms when pressing switch; Max 50ms when releasing switch
Max Paired Connection Quantity: 1
Allowable Operating Frequency: ≤60 times per minute
NKL10 Solo Bluetooth X-ray exposure hand switch is a wireless remote control accessory designed for general X-ray equipment. It adopts Bluetooth 4.0 full-duplex communication to realize long-distance exposure control, effectively isolating operators from X-ray radiation. The complete set includes a wireless transmitter handle, signal receiver, fixed base and matched batteries, supporting professional two-step three-key exposure control mode for radiography equipment.
Core Product Characteristics
Built on Bluetooth 4.0 full-duplex protocol, it delivers stable wireless connection and outstanding wall-penetrating signal performance.
Indicator lights flash to remind users of low battery power and poor Bluetooth connection status.
Custom two-step three-key control mode developed exclusively to match the operating logic of X-ray machines.
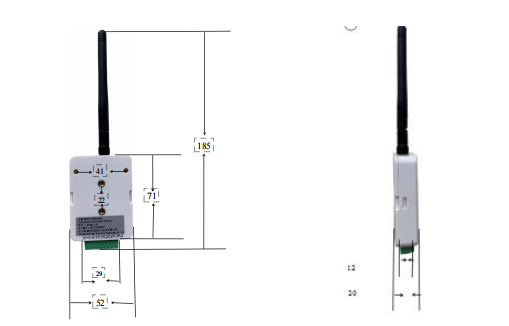
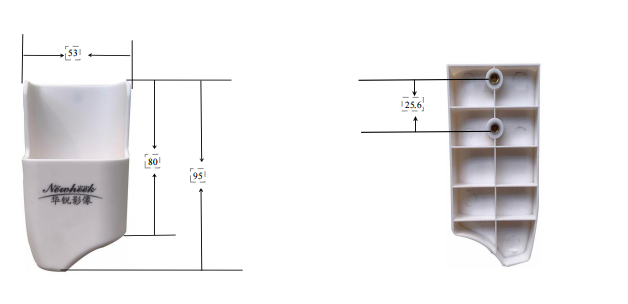
Compact and user-friendly receiver supports two installation methods: hidden fixed mounting and hanging mounting.
The receiver outputs three groups of relay contacts, connecting to equipment via external wiring without modifying the original working logic of X-ray machines.
Custom control modes are available to meet personalized client requirements.
Power Supply Parameters
1. Transmitting Handle (C2UW-LP-I DA)
Rated Voltage: 4.5V
Allowable Voltage Range: 3V ~ 4.5V
Recommended Power Source: 3 AAA alkaline batteries
2. Receiver Terminal (C2UW-LU DA)
Rated Input Voltage: 5V~12V DC
Allowable Voltage Range: 4.5V~13V DC
Power Consumption: Typical 100mA; Max 400mA
Terminal Button & Indicator Light Definition
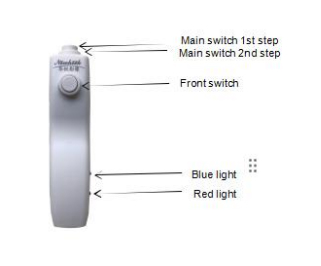
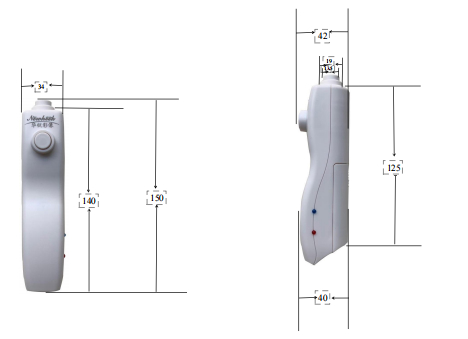
1. Transmitting Handle Functional Zones
Main switch 1st step: Ready standby state
Main switch 2nd step: Trigger X-ray exposure
Front auxiliary switch: For on-demand extra operation
Blue indicator light: Bluetooth connection status prompt
Red indicator light: Low battery warning reminder
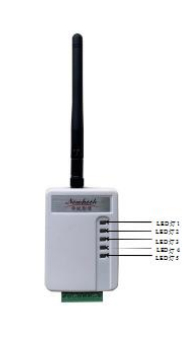
2. Receiver Terminal LED Indicator Explanation
LED Light 1 (Red): Power-on indicator, lights up when the receiver is powered on
LED Light 2 (Blue): Bluetooth connection indicator
Flashing rapidly: Bluetooth pairing in progress
Constant off: Bluetooth connected successfully, enter low power standby
LED Light 3 (Green): Lights up when main switch 1st step is activated (SW1)
LED Light 4 (Green): Lights up when main switch 2nd step is activated (SW2)
LED Light 5 (Green): Lights up when front auxiliary switch is activated (SW3)
Battery Replacement Steps & Precautions
Only use 3 AAA alkaline batteries; non-specified batteries may trigger equipment failure or hardware damage.
Replacement Operation Steps:
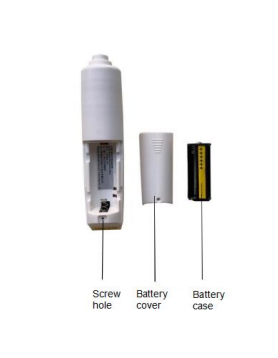
Unscrew fixing screws with a Phillips screwdriver and detach the battery cover
Take out the battery holder and install three AAA alkaline batteries, strictly distinguish positive and negative poles
Reset the battery holder into the handle body
Reinstall the battery cover and tighten the fixing screws