

As a professional manufacturer of medical imaging equipment, Newheek provides high-quality chest bucky stands for global customers. Below is the detailed installation and usage instruction for your reference.
Installation Steps
-
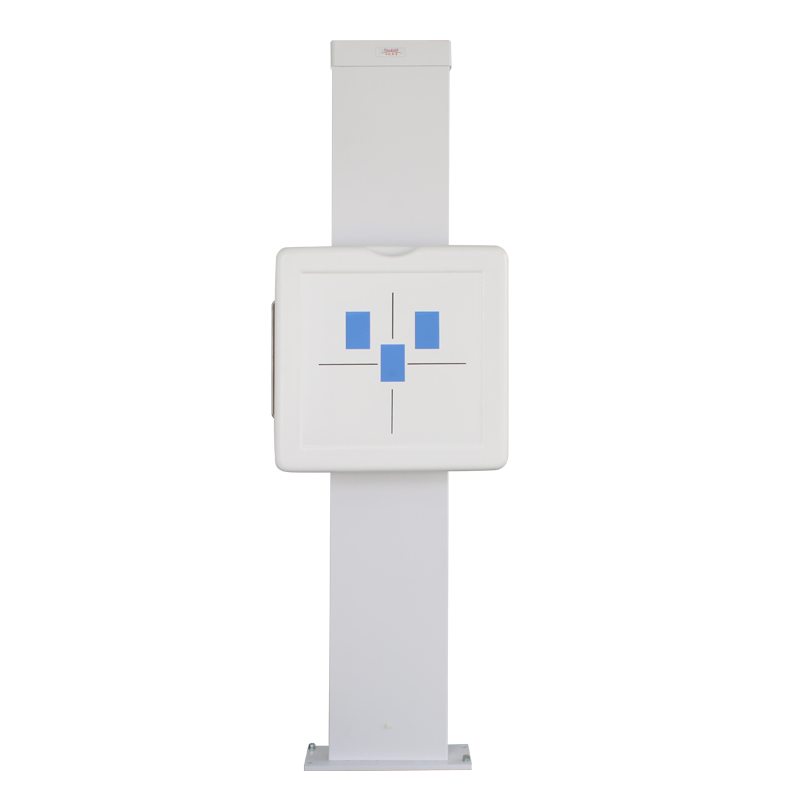
Place the bucky stand on a flat, hard surface, keeping a 180cm distance from the X-ray tube. Ensure the vertical center of the imaging box aligns with the tube center.
-
Use an electric hammer to install four M8 expansion screws, then tighten them securely.
-
After confirmation of correct adjustment, the device is ready for imaging.
Usage of Imaging Frame
-
Hold the film carriage handle, pull out the carriage from the imaging box. Insert the selected film cassette (or IP board, DR detector) into the movable film clamp, then press down the clamp to fix it firmly between the upper and lower clips.
-
Push the film carriage back into the box and lock it in place.
-
Loosen the locking handle, adjust the height of the stand according to the imaging position to reach the optimal height of the imaging box. Lock the handle again before imaging.
-
After imaging, pull out the film carriage, take out the film cassette (or IP board, DR detector) from the clamp, and push the carriage back into the imaging box.
If you have purchasing needs for the chest bucky stand, please feel free to contact us! WhatsApp/Phone: +8619953639012
Post time: Dec-22-2025